Recently we helped a new Admiral customer onboard a MikroTik that is configured to send…
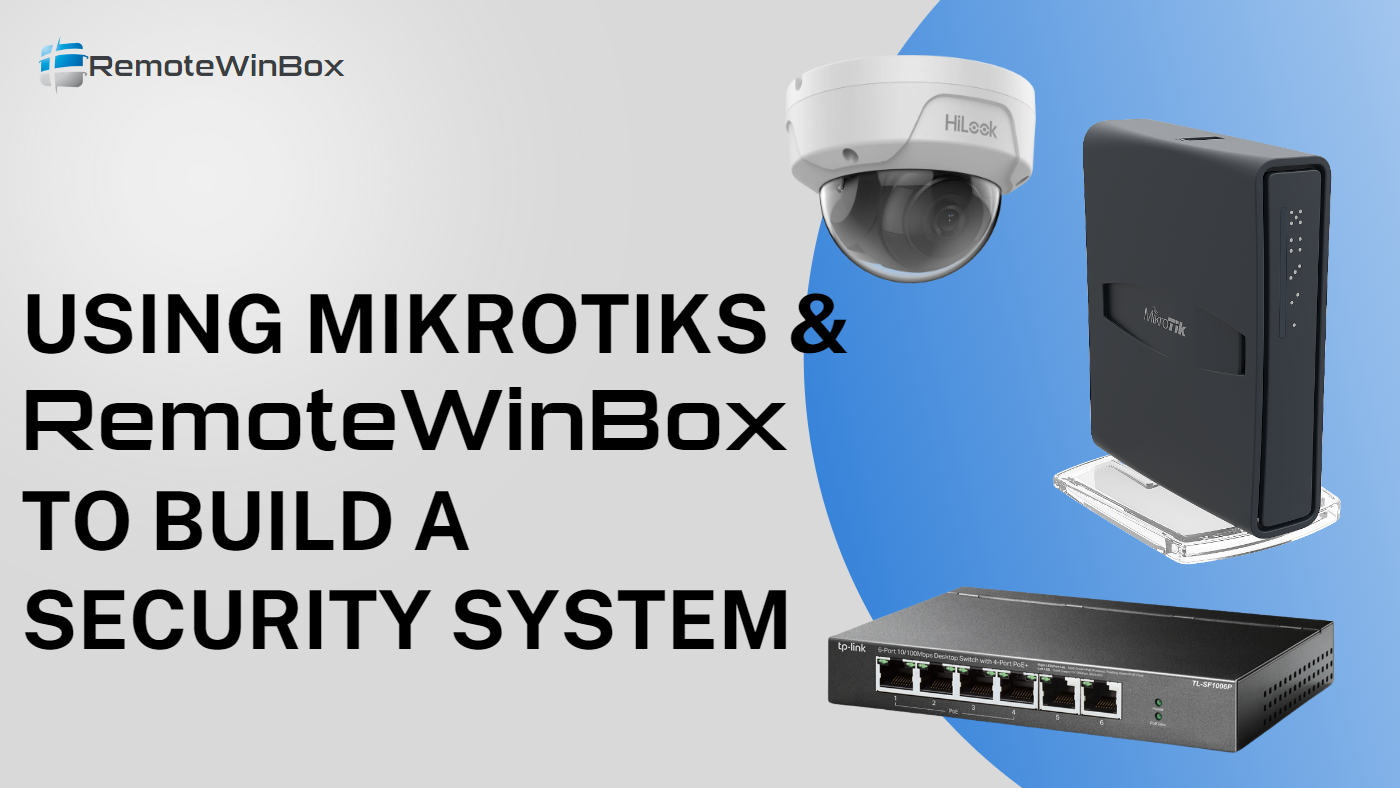
Using MikroTiks & RemoteWinBox to Build a Security System
From Mario Dujmovic, CTO at RemoteWinBox:
Last Christmas I had a chance to go to Croatia and visit my family. While I was busy gaining 10lbs and hanging out with my family, some thieves were apparently busy jumping the fence at my parents’ vacation home out in the country, and stealing some building materials.
Materialistically speaking, there was no serious financial damage, but more so an inconvenience of now lacking some materials that my dad uses for projects. The bigger issue was the fact that my parents did not feel very comfortable with someone jumping the fence and walking around their property.
They asked me if I’d know how to set up a security camera system, and I figured it can’t be that hard!
DISCLAIMER: I have never set up a security camera system of any sort, not even a single security camera. I do however have the knowledge of networking, using power tools, some basics of low voltage electronics, etc.
I did some research on security cameras, placing and powering them, cables, switches, etc.
Since it’s my parents in question, and I’m doing this for free, and with the budget being “as cheap as possible, but that we can still see what’s going on”, I really pinched every penny along the way.
Gear
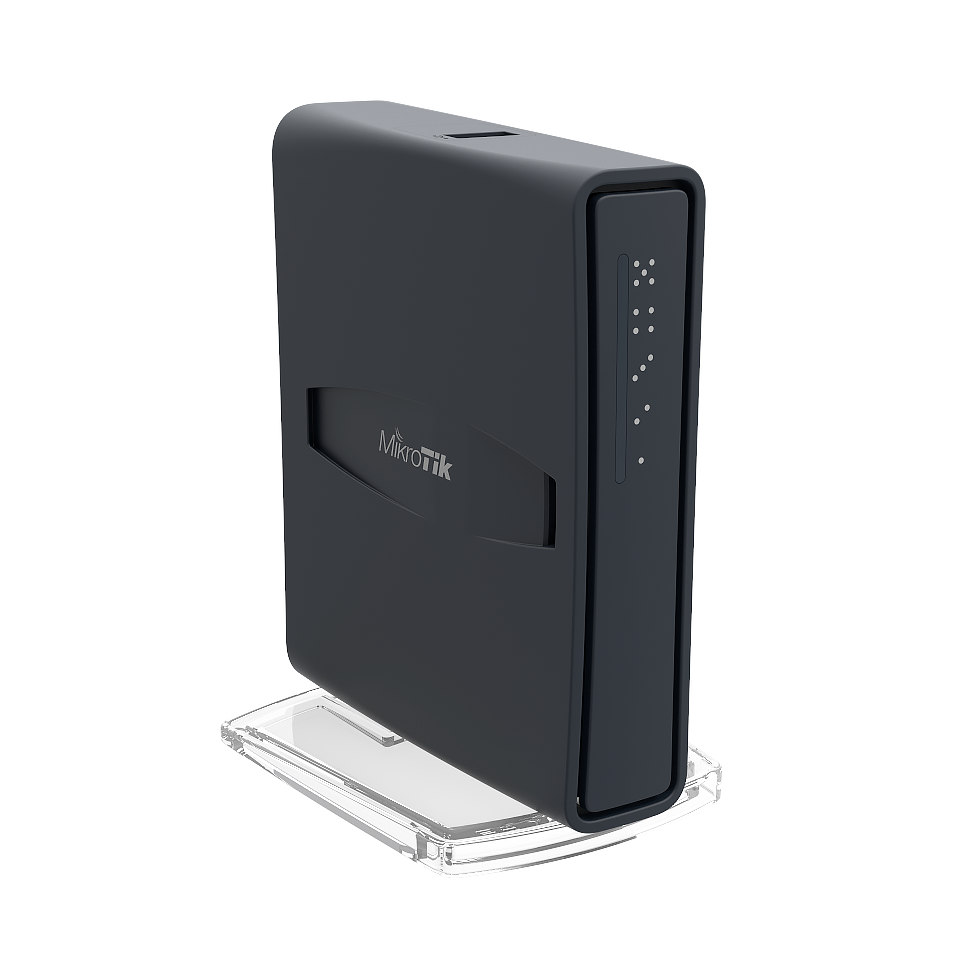
I had a MikroTik hAP ac lite laying around, and I knew that the connection wouldn’t exceed 100Mbps, so I knew I’d use that device as the router for this installation.
I started off with just buying one camera, just to test out with my Tik. I set it up without any hiccups, except for the fact that the Tik didn’t have a powerful enough PoE-out port to power it. Everything else seemed pretty straight forward – plug the camera in, open the app on my phone and scan a QR code.
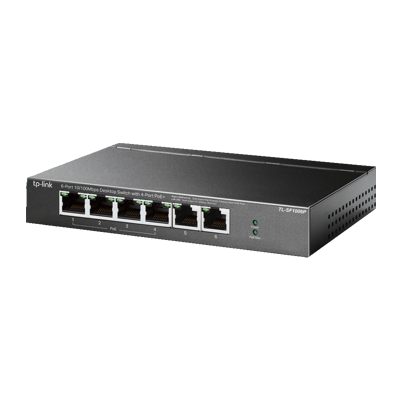
I calculated the output needed out of the PoE switch to power 4 cameras. The PoE switch that I ended up using (also on the cheaper end) is a TP-LINK TL-SF1006P. It is capable of pushing out 67 watts of power through PoE on all ports combined, which is way more than I needed, and comes in a nice metal casing. The important piece here is to see how much power your equipment draws, and to make sure that the switch can simultaneously push out that much wattage to each device’s port.
The cameras that I ended up using are 1x HiLook IPC-D150H(C) and 3x IPC-D121H(C).
The D150H is a 5MP camera that I decided to use at the main entrance into the yard.
The D121H cameras are 2MP, and they’re used through a couple of smaller areas between the house and the garage, and behind the house.

(the cameras look the same on the outside, but internally, one is 5MP and three are 2MP)
Internet Service Choice
The issue I ran into was the fact that there was only one option for internet service – a European provider called A1. The best possible speeds available in the area were 20Mbps down and 1Mbps up at around $20/month. There is no way I can open a security camera stream on 1Mbps upload. I had to come up with a different solution.
Fortunately, A1 has, in my opinion, a great product – a SIM card that costs around 15 euros (around $16) and comes with 120GB of data and is intended for on-the-road routers, tablets, LTE sticks for laptops, etc.
I was excited to get a MikroTik LHG antenna on the roof, and have awesome internet out in the country, but my parents weren’t too happy with the idea of spending another few hundred Euros on some weird looking dish. On top of that, if I were to order one, it wouldn’t arrive in time before I left. Alternatively, I found an old phone that I switched to developer mode to turn on automatic tether activation upon successful USB connection, so that everything runs smoothly once the SIM card is inserted.
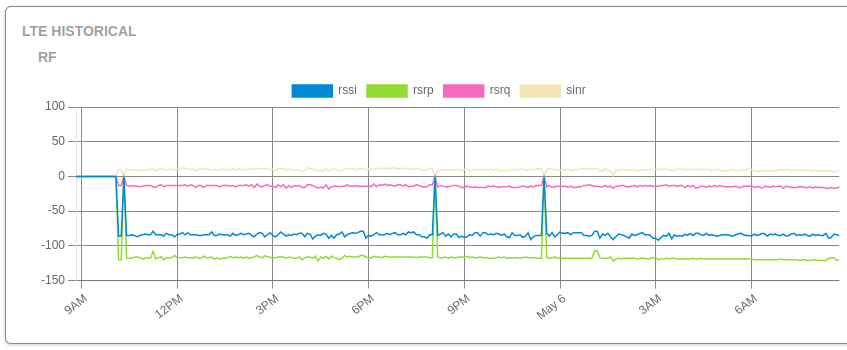
Even using a phone as an LTE antenna was a huge win! I managed to get around 80 Mbps download and around 40 Mbps upload, which is way more than A1 offered originally. This was also inside of a brick and concrete house.
One slight issue is that these SIM cards last 3 months, and need to be physically swapped out for a new one. Luckily, I easily trained my parents on doing the SIM card swap, and my automatic tethering on the phone takes care of the rest!
Plan
The only piece missing was ethernet cables. I could have done wireless cameras, but between the price point difference, and either dealing with taking them off and charging, or stretching out a handful of power cables, I deemed the PoE implementation a better option.
I purchased two 25 ft CAT6 cables, and two 35 ft CAT6 cables.
They were really nice cables with extra shielding around the RJ45 connectors.
With everything purchased, my plan looked something like this:
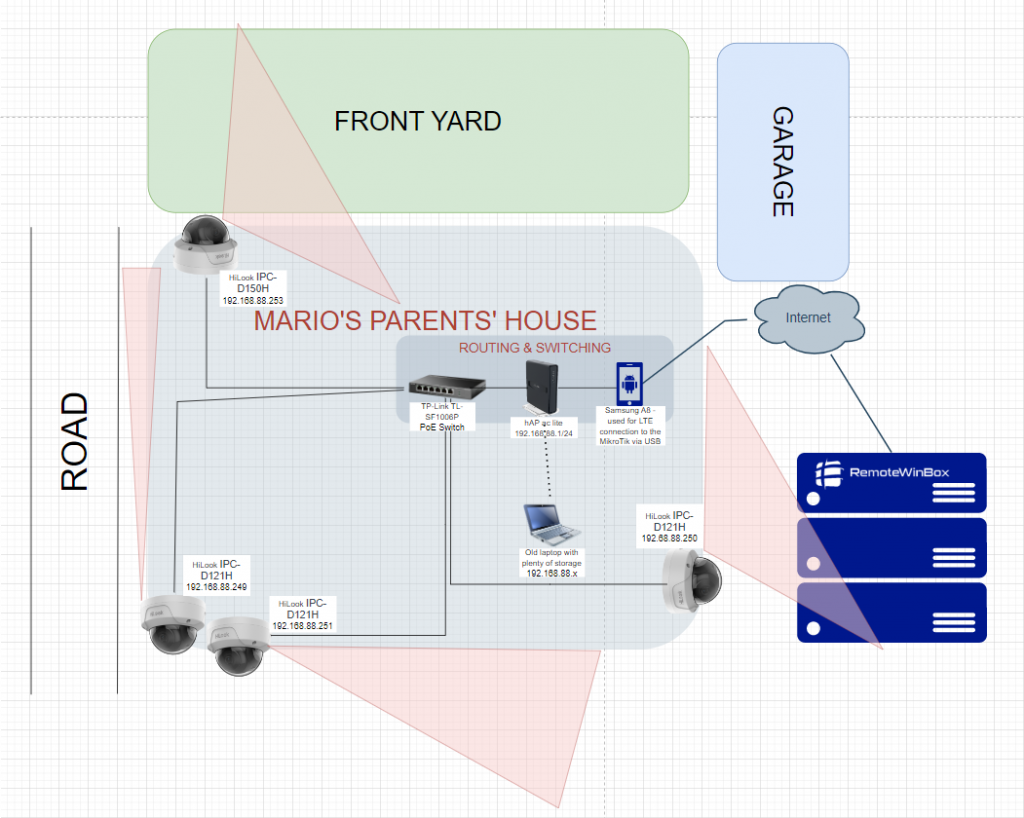
I had two places where I knew I could drill through the roof soffit, and fish my cables through, and two places where I had to drill through foot or foot and a half of bricks and concrete (I made my peace with this pretty early on, as this was inevitable due to robust build of houses in Croatia).
Tools and Supplies
The security cameras come with torx screwdrivers, but I highly recommend using something with a better handle, since I dropped my tool multiple times (luckily, I had 4 of them on me, since 4 cameras = 4 torx screwdrivers).
Other than the camera case torx screwdrivers, the most important tools were a ladder, a hammerdrill, utility knife, screwdrivers, an impact driver was pretty useful, and without a doubt, a phone that I used to point the cameras in the right direction before drilling and screwing everything in. From extra supplies, I used some cable clips to run my cables along the rafters, and some zipties to clean up the extra cables, and a pretty large and long concrete drill bit.
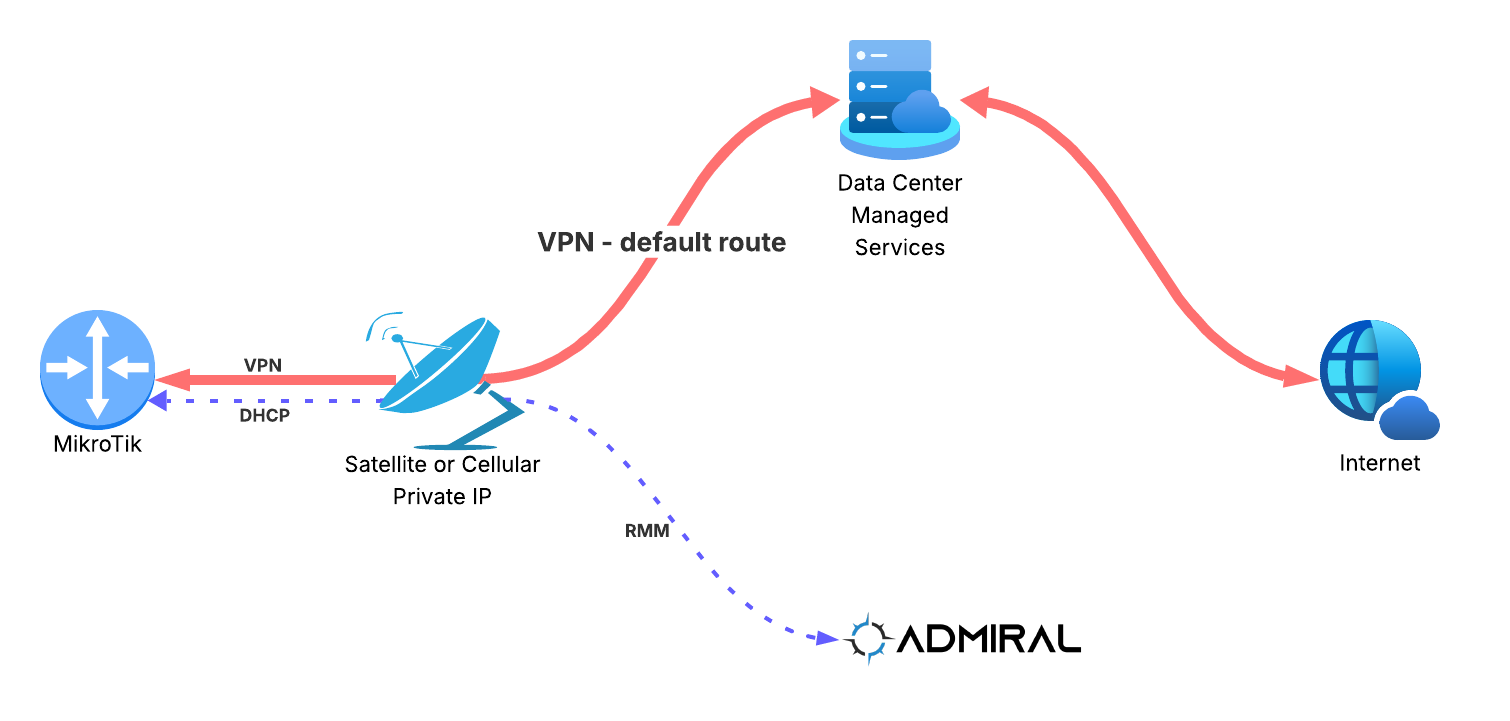
Providing the Tik with Internet
There is a large number of MikroTik routers out there that have the ability to use their USB ports as an in-interface. This allowed me to plug in that phone and share the LTE connection via tethering. With a little bit of extra configuration, my hAP ac lite was now getting 80Mbps down and 40Mbps up!

Software
While not my favorite option, the easiest way for my parents to look at the cameras and get some notifications was to install a provided app. It was as easy as scanning a QR code, downloading the app, and logging in.
They noticed very quickly that the streams from the cameras would crash, or be very laggy.
While the internet speed was more than sufficient, and it seemed like the cameras were capable of capturing 1920*1080p, they were not able to provide a reliable stream at a bitrate higher than 3 or 4 Mbps. Hence, I reduced the max bitrate to 3Mbps, and the picture was still clear enough.
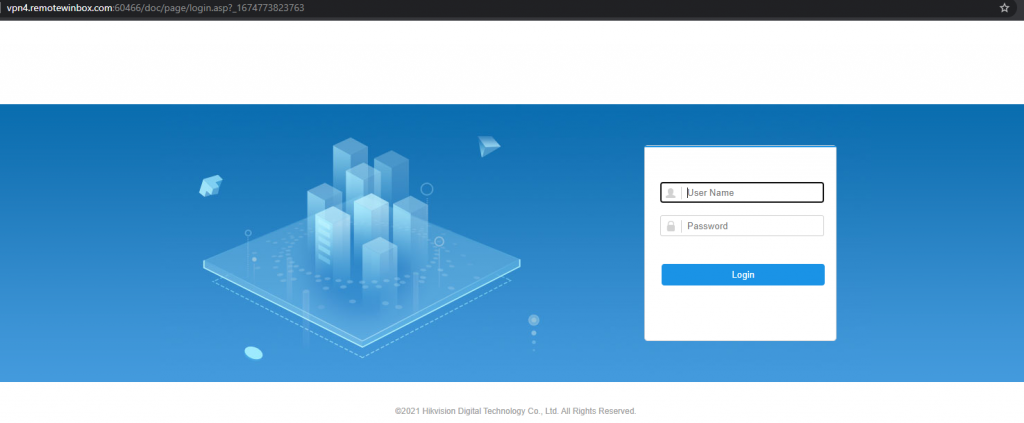
Camera management is done through the software called HIKVision. It’s browser based, and it offers more than enough functionality, from changing stream bitrates, to adjusting motion detection sensitivity, setting up notification events, etc.
It worked great locally, but I needed a way to do some management remotely. While there are many ways to achieve this, being a part of the team at RemoteWinBox, as well as a shameless plug, I used RemoteWinBox Cloud to gain remote access to the camera management system.
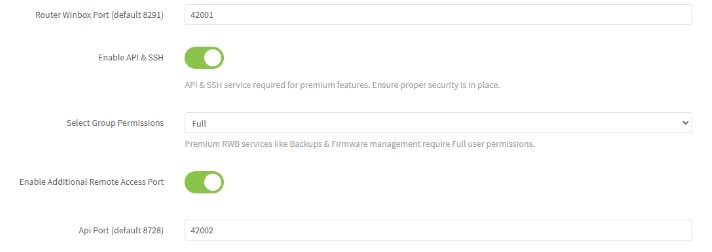
I used a couple of licenses used the Additional Port Forward feature to gain access to all 4 cameras. On the router side, I did a dst-nat on those ports to my cameras’ IPs:
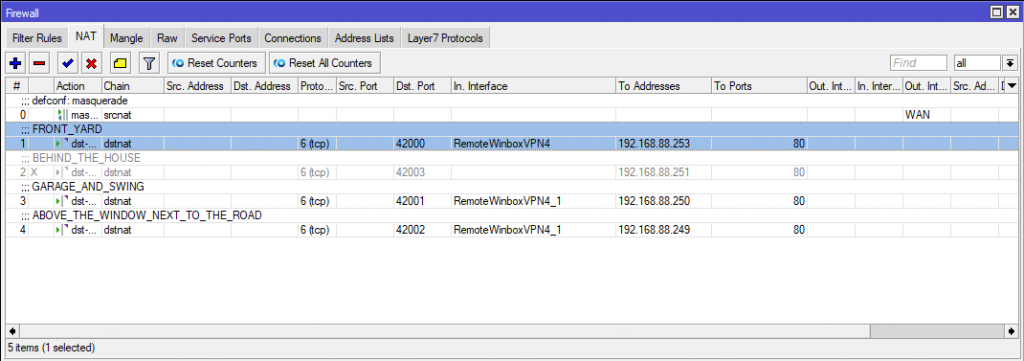
Cool thing about the Additional Port Forward feature is that you can use it to access any device behind your RemoteWinBox powered MikroTik. So far we’ve heard use-cases from accessing RaspberryPi’s to LTE modems, servers, Point-of-sale devices, and now – security camera configuration dashboards.
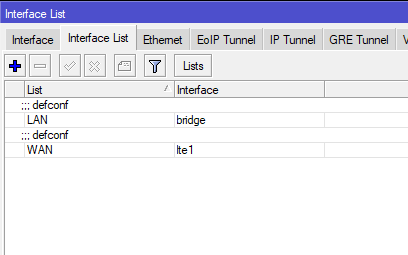
I had to slightly change one of the configurations, as otherwise RouterOS would throw errors saying that the interface with such name already existed:

And a couple of minutes later, I had remote access to the camera management!
RemoteWinBox Cloud does have a rate limit of 1Mbps per connection, but that is enough for me to do some updates and quick changes.
Should Haves, Could Haves & Would Haves
Just like every other project that ever existed, there are several mistakes I made throughout this project, and things I wish I would have done differently.
- I should have bought a small spool of ethernet cable, some RJ45s and a crimper instead of buying pre-made cables
What seemed like awesome cables with extra RJ45 covers, ended up not fitting into the waterproof shielding of the security camera, so I had to trim up the gaskets and the RJ45 covers. This wouldn’t have been a problem if I would have just crimped my own cables (or I guess bought cheaper cables).
- I should have bought a small spool of ethernet cable, some RJ45s and a crimper instead of buying pre-made cables
Yes, the same thing twice! Another issue that I had with cables was the length. I measured how long the cables should be, however, I ended up with excess cable for three of the cameras (which I guess is better than lack of cable), and one cable that barely made it to the switch. Needless to say, there was a plethora of cable clips and zipties at the end to at least somewhat clean things up.
- I should have bought a small spool of ethernet cable, some RJ45s and a crimper instead of buying pre-made cables
Yes, the same thing THRICE!! Due to trimming around the RJ45 covers, and the gaskets inside of the security camera shielding, I made one of the shieldings non-100%-waterproof. That results in one camera shorting out at the RJ45 port every once in a while, on a really rainy day. The fix is my dad unplugging the camera’s ethernet cable, leaving it unplugged for a minute, and plugging it back in.
- I should have bought a fish tape tool
It ended up a bigger pain than expected to fish the cables through the roof/rafters than I expected, especially when you don’t see the obstacles.
- I should have planned out the camera installation process better
I’m not sure how, since I haven’t looked into it as I was done drilling and screwing the cameras in, but I should have figured out a better way to install the cameras. I’m not sure if it was the ladder placement that could have been done better, or simply marking, then drilling, then placing and screwing the camera mounts in, but doing all that ladder yoga was a lot harder than I expected. All that while trying not to fall!
Future Improvements
While the system works flawlessly (except for that one camera that dies every time it rains :/ ), I do have some improvements planned – probably for this summer!
Easily the most important improvement is to climb back up to that one camera and fix the non-waterproof connection!
The system currently takes pictures on motion detect, and I’d like to actually record approximately a minute at the event. There aren’t any computers at the moment on the premise that I could use as storage, but I do have a plan to utilize my parents’ old laptop for that.
Cable and equipment management and organization – the phone, the router, and the switch should have a better placement, as they’re currently placed on top of a smaller closet in the attic. I’d like to have a better option for that, or possibly mount all that on the wall.
Lastly, I’d love to get a MikroTik LHG LTE kit on the roof, and get a proper connection, although, after this system has been running for around 5 months now without the connection being a bottleneck at all, I can’t say that the benefit of this update would be for anything other than my personal satisfaction.
Conclusion
I can’t say that I did everything right throughout this project, but I had fun designing, building, and making the whole thing work! On top of that, I thought it was a really cool use-case to use RemoteWinBox to gain access to the whole camera system remotely!
Related Posts